
Scale Sounds on a Budget
Economy S-gauge train sounds
All you need for this project is white Styrofoam, some liquid nails, black spray and acrylic paint, a few toothpicks, one small wooden dowel, epoxy glue, last but not least a cheap railroad clock!!
Hi , I love your web site! I have an American Flyer rare uncatalogued #21004 loco and slant back tender with rocket freight set including rare car carrier w/ blue semi and all 5 cars also rocket launcher car, red caboose and the gondola being the key piece for me. I found this set when I painted apartments for a living, someone left it in a closet minus the track, but w/ the 100 watt power pack! It even had the original boxes, I couldn't believe someone could forget such a beautiful train set, I had one similar to it when I was a child (my dad sold it).
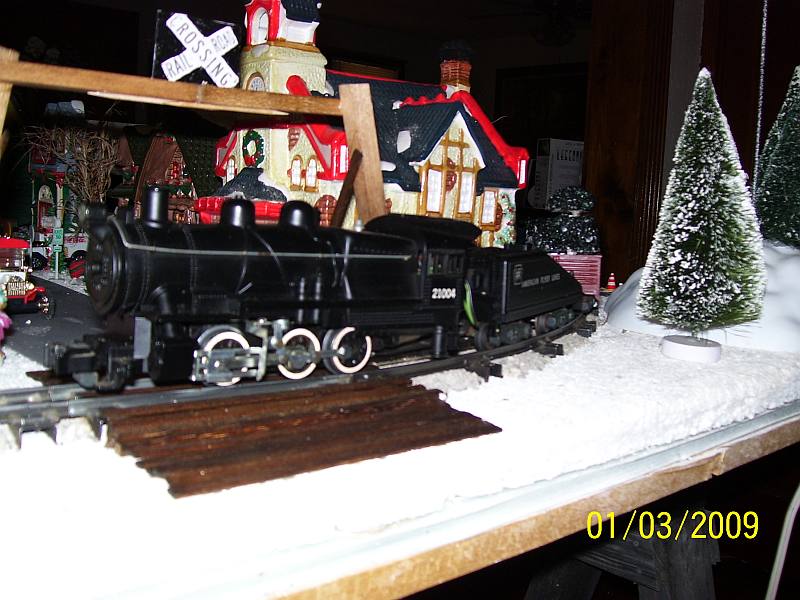
I put it in my closet and it remained there for about 10 years, I didn't think I would be able to find track for it, but eBay has ample supplies of S-gauge stuff. About 2 months ago I purchased some track, built a 4x12 foot layout, cleaned and lubed her up and she runs perfect, she even still smokes and chug chugs loudly! I wanted to add steam whistle sounds to my layout, but the original ones are all stationary (not a good effect for a layout) not to mention pricey as I am on a budget.
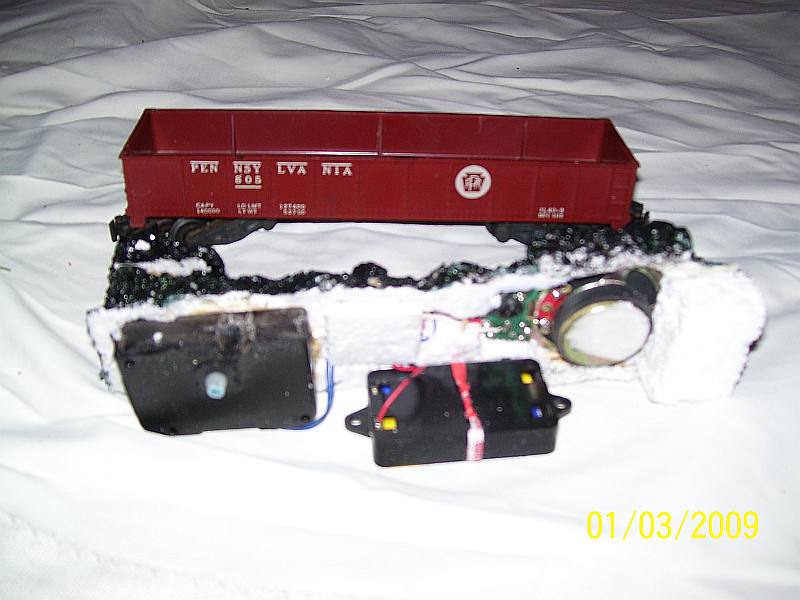
So one day I had an epiphany, several months prior to this while garage sale shopping I purchased a battery operated large round train clock w/ sounds for 25 cents, it makes steam, bell, whistle, and chug sounds. This clock had 2 separate batteries 1 for clock and 1 for sound , which was perfect. I took the clock apart, removed clock mechanism (it is the switch for sound), hourly sounds as you turn the clock setting knob, and since you don't have power to the clock you can turn it to activate. There are 2 different positions as you turn it, when you hear it click it turns on sound, goes through all sounds and stops or keep turning it to just where you think it will click and it will remain on until you finish turning it to where it clicks again.
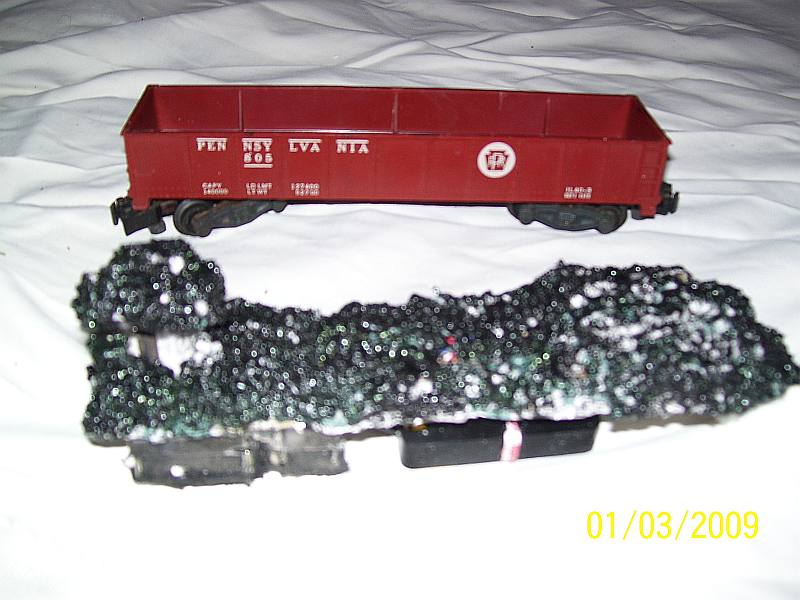
I removed the computer board and speaker (be careful with the wires, they're very delicate), but it was all to large for my slant back tender, so I thought why not put it in the gondola? Everything fit perfect with the exception of the speaker, it would rest on the edge of gondola. I took a piece of 5/8" white foam and cut it just a little larger than the size of the gondola, traced the shape of the clock mechanism and speaker on to it and carefully cut them out to half the depth of foam. Some of the foam will be a little thin on the sides so be careful with your box knife or whatever you use to cut! Be sure to trace and out the holes for the clock mechanism in the front and the speaker in the back of the foam, so you can lay the computer board in the middle of the bottom of the gondola!
Now glue a small wooden dowel ( about 1.5" long)to the clock adjustment knob, epoxy worked well for this, it adhered well to the little ridges on the knob, but be careful don't put to much on or you will glue your knob where it won't turn. Now you can make a hole to put the wooden dowel through where you cut out the clock mechanism hole and use something like a small drill bit to make several holes in the foam where the speaker goes, for loud and clear sound. The speaker will be showing a little on each side, cut 2 small rectangles of foam to glue over sides of speaker. Use liquid nails (in the tube) that is friendly to foam to glue every thing and use a few toothpicks pushed into foam to help hold everything in except the comp board you will lay it in the gondola.
Put a thin piece of foam in gondola for cushion just under comp board. You will also have to use a dremel tool and cut off the battery compartment (for the clock) to fit it in the gondola! Now you can cut 2 small pieces (essentially rectangles) of foam the width of gondola and your foam insert, glue on underside over the rear of insert and one in front (to hold it in gondola). Also cut a small cube of foam and glue on to dowel. After all glue dries, carefully carve or slight small pinches on foam.
Now, very lightly, progressively spray the top of insert with black spray paint, not to much or it will melt it to nothing [Ed: hand paint with acrylic paints, so it won't melt], it wont take much to make it look like a coal load. Now paint all with black acrylic paint to look just like coal, insert all into gondola , the ribs in gondola will cause you to make adjustments but you will get in there.
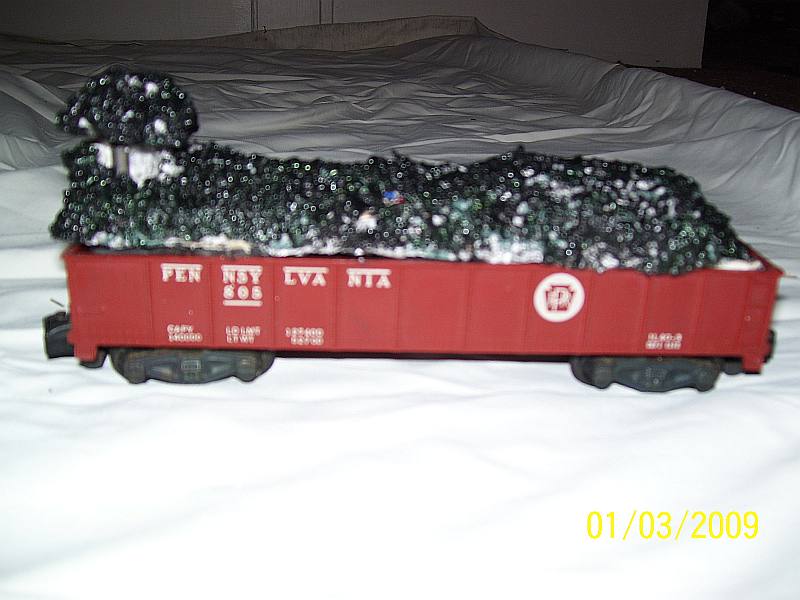
Carefully turn the dowel with the foam you glued on, voilà train sounds at a budget price!
I hope this tip helps people like me on a budget. This whole project took about 1 day to complete, worth the effort. Don't forget to put in the battery!! Look for those train clocks at sales, I'm looking for another for my life like train.
Enjoy, from a fellow railroader, John T.
©2009/2020, John T. https://www.modelrailroadtips.com