
Testing a New Road Method
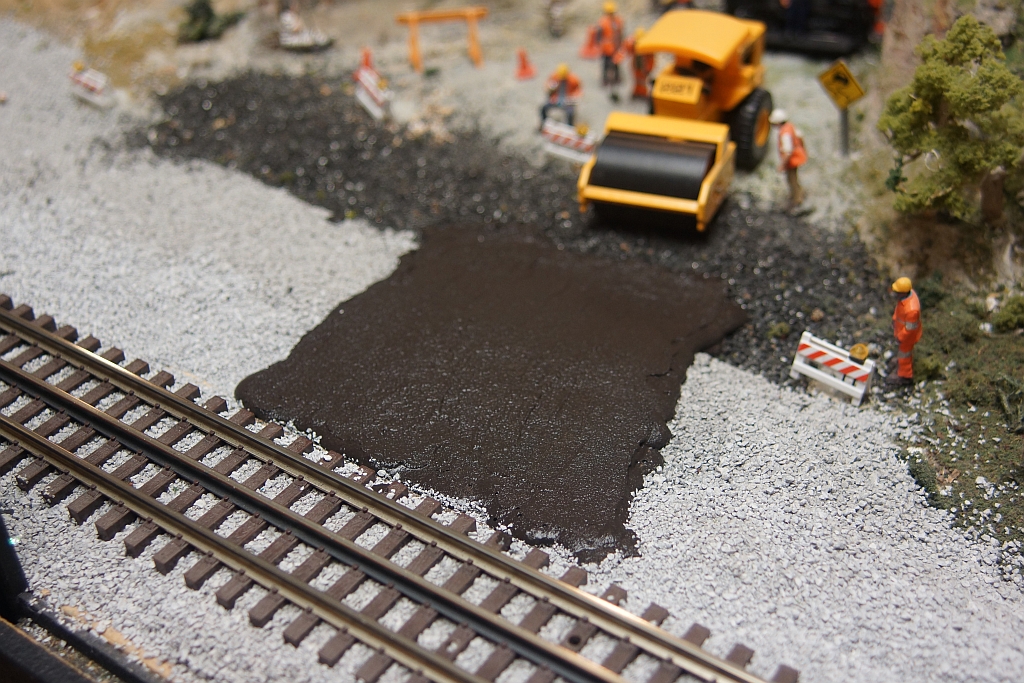
Over the past few months I had been discussing ideas for roads on the Old Town Model Railroad Depot layout with Co-Worker, and modeling friend Donovan. I contemplated using black sanded grout. Here's the initial test.
Not every idea we collectively come up with for modeling opportunities, scenes, and improvements to the layout at Old Town Model Railroad Depot come to fruition. Many are reserved for the future, some are simply left as "unfeasible" such as adding a subway under the big city. Adding/updating roads is one that I've wanted to do since my day one, in November of 2019.
I recently used some tan colored sanded grout, available at Home Depot, Ace Hardware, or Lowes (among others), to add a dirt lot, and dirt embedded rails on my Walthers NMRBO module for 2020. The texture seemed ok for roughly paved roads in O scale, so I tracked down black colored sanded grout, ironically available from my wife's work, Hobby Lobby.
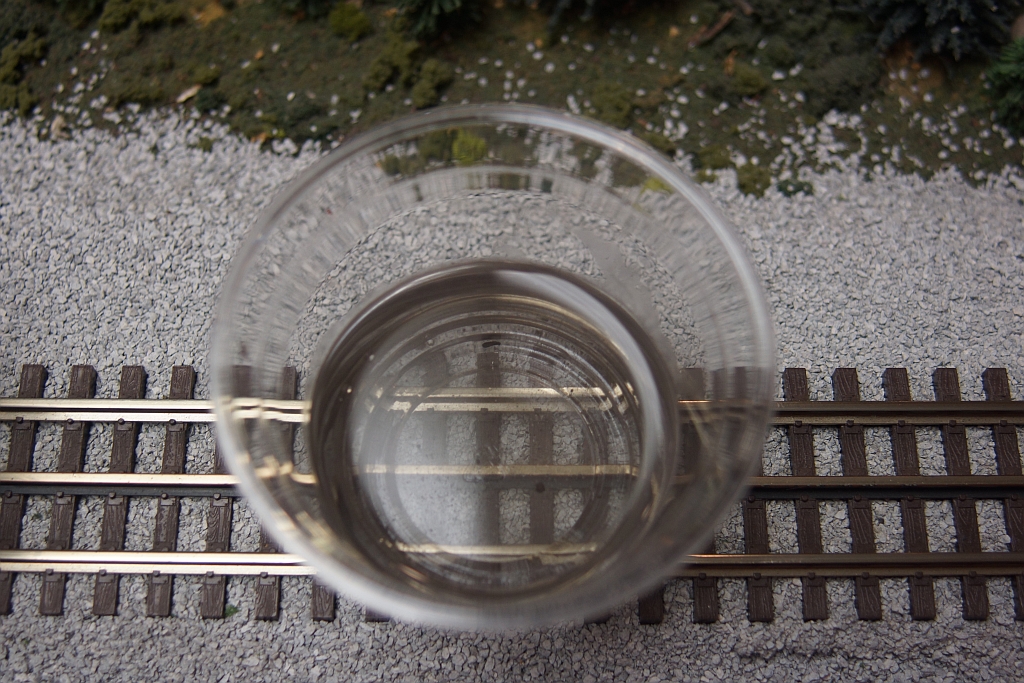
To begin, I filled a small plastic cup with tap water, and poured a small amount of the sanded grout into a second cup. The amount does not matter, but leave plenty of room in the cup for water.
I then poured about the same about of water to grout (1:1 ratio or so), in the cup with the dry grout, reserving the remaining water in it's original cup. Wearing disposable vinyl gloves, I hand mixed the grout and water in the cup.
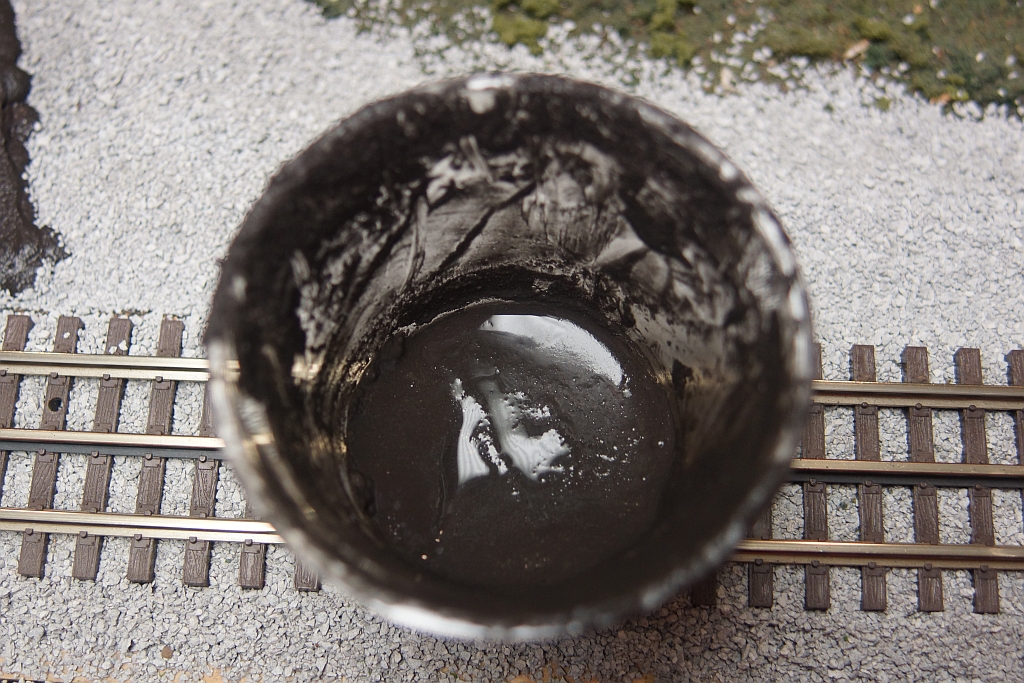
I then said to myself "This is too thin..." and proceeded to wait about 5 minutes before applying. As I attempted to apply the mixture, I quickly realized it was in fact too thick! I applied the first layer, which sadly was not enough to do the area I planned. I mixed a 2nd batch, and started applying it right away, in a fairly soupy mix, but not too watery, as I was applying to a slope, I needed it to stay in place, but still run a but to evenly cover the area.
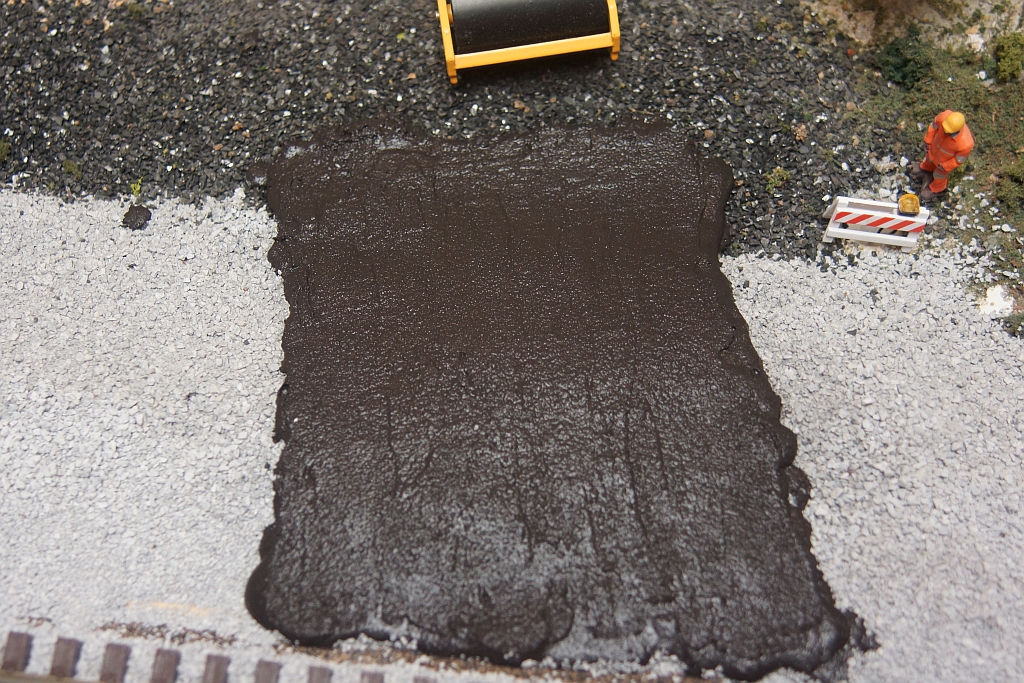
I then took a piece of scrap hard paper board, lightly moistened it, and smoothed out the surface of the road, Keep whatever you use for the screed (a putty knife would work, or scrap styrene) fairly moist, so it wont pull up the grout mixture.
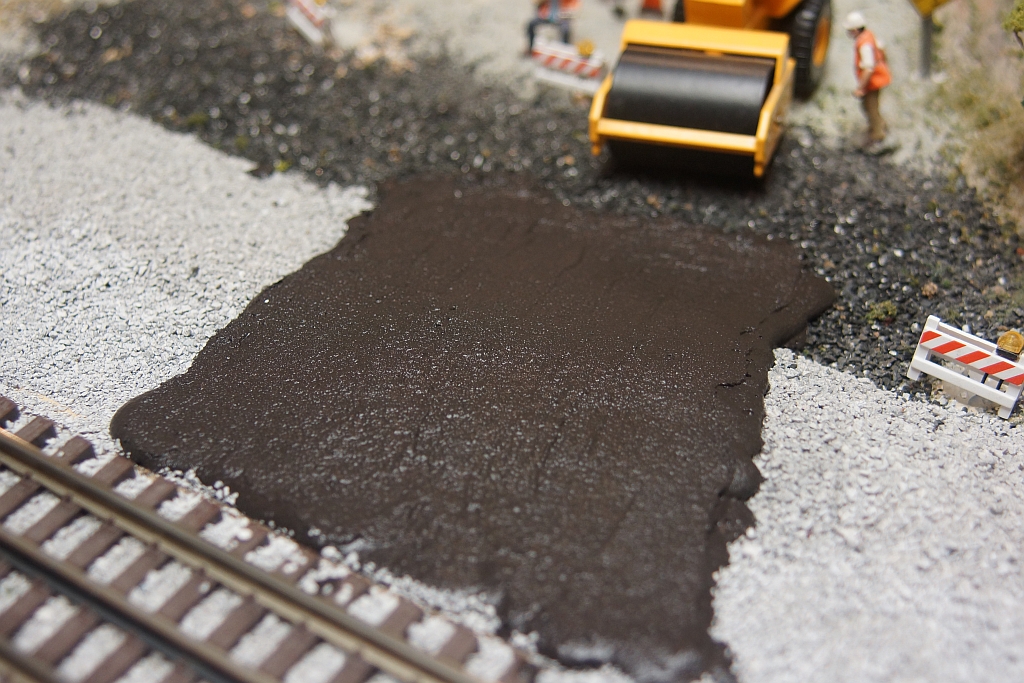
While this experiment certainly provided a great looking road, I have a few new thoughts to create a much more realistic road next time.
- The mixture needs to be fairly thin to allow an even spread and proper adhesion to the layer under.
- I laid over a large ballast embankment, the grout was pulling the ballast up at the edges on the first pour.
- Use a wider item for the screed, such as a 3" wide disposable putty knife.
- Use 1/8" or 1/4" foam tape, such as the tape provided with Woodland Scenics Smooth-it road material (or weather stripping from Home Depot), to build a temporary wall for the sides of the road. Remove the foam after the grout starts to set, within an hour, as the grout will permanently bond to the foam as well.
- Small tubs are available at Hobby Lobby, but larger 10# bags are available at Home Depot. Use sanded grout for O scale, and unsanded grout for HO or N.
- Only requires water and the grout. Make sure to store unused portions in moisture proof containers, as the unmixed grout will gradually set with exposure to the moisture in air.
- Hobby Lobby product is more of a dark brown than black. A light weathering will tint the road to your chosen prototype. Mine shown here is a freshly paved road, so it'll get some black paint, after I add new road crossings to the track, and build the road up to that level.
- Grout can be laid much thicker than plaster or Smooth-It, and colors like this won't chip to show unpainted white!
Considering the cost of most road making materials in the hobby market, sanded grout makes for a perfect replacement, to help you extend your hobby budget even farther.
Head to the forums and post your road making ideas!
For more information on Old Town Model Railroad Depot, see these articles:
Winter on the Old Town Model Railroad Depot Layout
Winter on the Old Town Model Railroad Depot Layout (part 2)
© 2021, Josh Baakko, https://www.modelrailroadtips.com