- Details
- Written by Josh Baakko
- Category: Scenery
- Hits: 2618
Scenery Basics Part 1
Scenery is fundamental to a layouts reality. There have been many techniques published in the hobby media through the years, while the techniques shown here aren't new, I figured I'd show you how I scenic my layouts.
This scenery isn't on my own home layout, however I am primarily responsible for the completion of the layout for my employer. This layout can be viewed at the Old Town Model Railroad Depot in San Diego CA.
Basic hardshell scenery techniques were used to make the scenery base. Plaster cloth over cardboard strip, was then painted with Woodland Scenics earth brown undercoat paint, thinned 25/75 paint-to-water.
I then collected the materials needed, I used sifted decomposed granite from Home Depot, and various dry and burnt grass ground foam colors from Woodland Scenics.
- Details
- Written by Josh Baakko
- Category: Scenery
- Hits: 3235
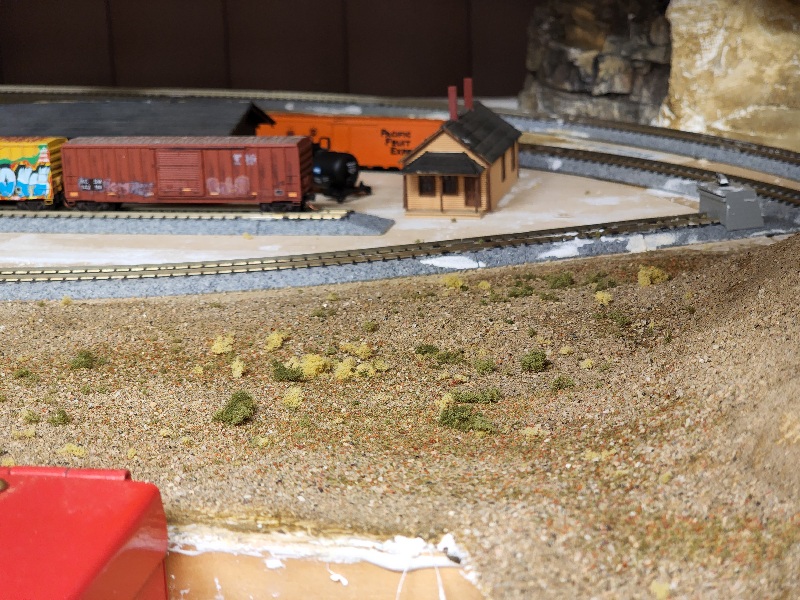
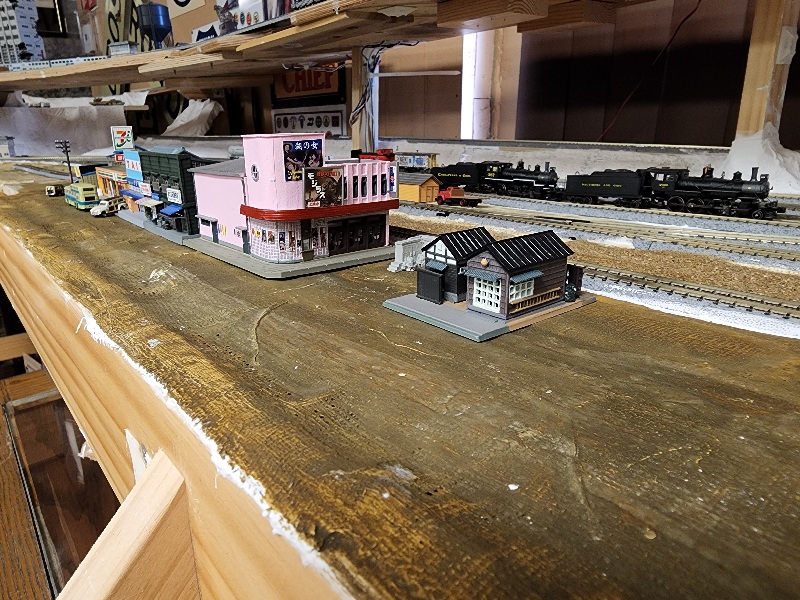
Some N Scale Scenery Ideas
N scale layouts take special skill to scenic realistically. One if the biggest issues is that most products can look oversized in photos compared to the small scale of trains. Here's a few ideas I used.
I started with a base of plaster cloth, painted with a 25/75 ratio of Woodland Scenics earth paint and water. This paint straight from the bottle goes on great over hard scenery base, like wood, etc. However the porous nature of plaster scenery means one can thin the paint and cover 4× more area with the same paint.
I typically let that paint dry for about 24 hours, only because I'm doing this scenery at work, so it's convenient to wait. I then coat the plaster base with a 50/50 mix of Elmer's Glue-All and water. I spread it with my finger, so it's an even layer, then sprinkle sifted decomposed granite into the glue.
- Details
- Written by Josh Baakko
- Category: Scenery
- Hits: 2825
Paved Roads
During the Fall of 2010, I worked on some roads on my layout. Paving roads has been covered several times in the hobby press, everything from asphalt roofing tiles, to styrene has been used.
I saw an article (forgive my forgetfulness on where) online, that suggested using Durham's Water Putty. This product is typically used for patching holes in woodworking, or walls.
- Details
- Written by Josh Baakko
- Category: Scenery
- Hits: 3158
Removing Ballasted Track
Works great if you used our new ballasting article.
Did you read our new ballasting article (Ballasting Done Right (Version 2)), test it out, and now decide the track needs to come back up? I'm about to show you how to remove that track very fast!
Tools:
· Putty knife
· 70% Isopropyl (rubbing) alcohol
· Eye dropper
Instructions:
Use eye dropper to wet the ballast with 70% Isopropyl alcohol, and allow to soak for around 2-3 minutes, then
start pushing the putty knife under the track, it should slide under. Repeat as necessary.
© 2009, 2019, Josh Baakko, http://www.modelrailroadtips.com
- Details
- Written by Josh Baakko
- Category: Scenery
- Hits: 6229
Testing a New Road Method
Over the past few months I had been discussing ideas for roads on the Old Town Model Railroad Depot layout with Co-Worker, and modeling friend Donovan. I contemplated using black sanded grout. Here's the initial test.
Not every idea we collectively come up with for modeling opportunities, scenes, and improvements to the layout at Old Town Model Railroad Depot come to fruition. Many are reserved for the future, some are simply left as "unfeasible" such as adding a subway under the big city. Adding/updating roads is one that I've wanted to do since my day one, in November of 2019.
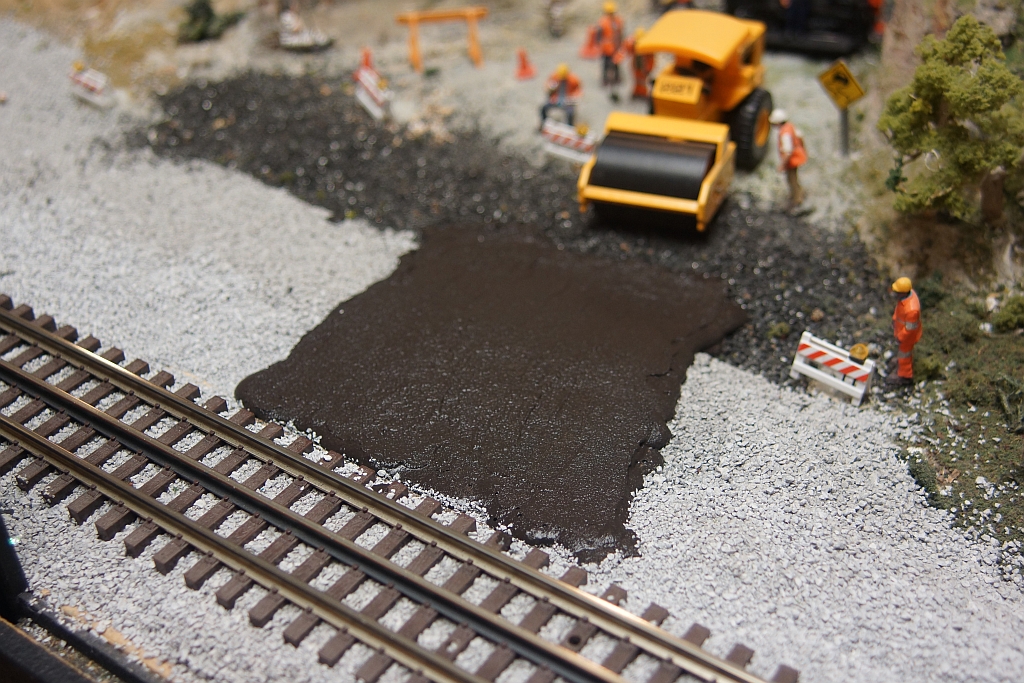
I recently used some tan colored sanded grout, available at Home Depot, Ace Hardware, or Lowes (among others), to add a dirt lot, and dirt embedded rails on my Walthers NMRBO module for 2020. The texture seemed ok for roughly paved roads in O scale, so I tracked down black colored sanded grout, ironically available from my wife's work, Hobby Lobby.
- Details
- Written by RBF
- Category: Scenery
- Hits: 2692
Cheap Roads and Parking Lots
I needed to make some roads and had to do it on the cheap.
I needed to make some roads and a parking lot or two and didn't have the money to buy even the cheep ones in the hobby store.
So I was looking at some scrap asphalt shingles I had and when I turn them over to the smooth side it looked like the asphalt they put on the road and it's easy to cut to fit. If you know were they are building a house or repairing a roof and you ask most likely they will be more then happy to let you take the scrap.
For center lines I used Bic WiteOut correction pen.
The really nice thing is the shingles they stay flat even at the ends. Just something to think about.
©2010/2020, user "RBF", https://www.modelrailroadtips.com
- Details
- Written by Josh Baakko
- Category: Scenery
- Hits: 3668
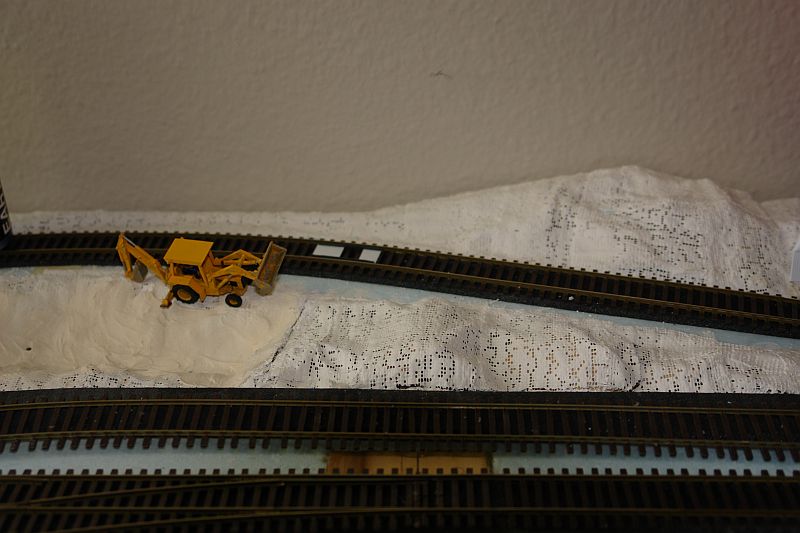
Quick one day project: Dirt Crossing
How I made a simple dirt crossing for railroad crews on my layout
Hundreds of unsignaled dirt road crossings dot the North American railroad system. Railroads employ them for numerous reasons, ranging from private owner roads, to railroad access roads. In short, nearly every model railroad should have them in at least one place.
- Details
- Written by Josh Baakko
- Category: Scenery
- Hits: 4510
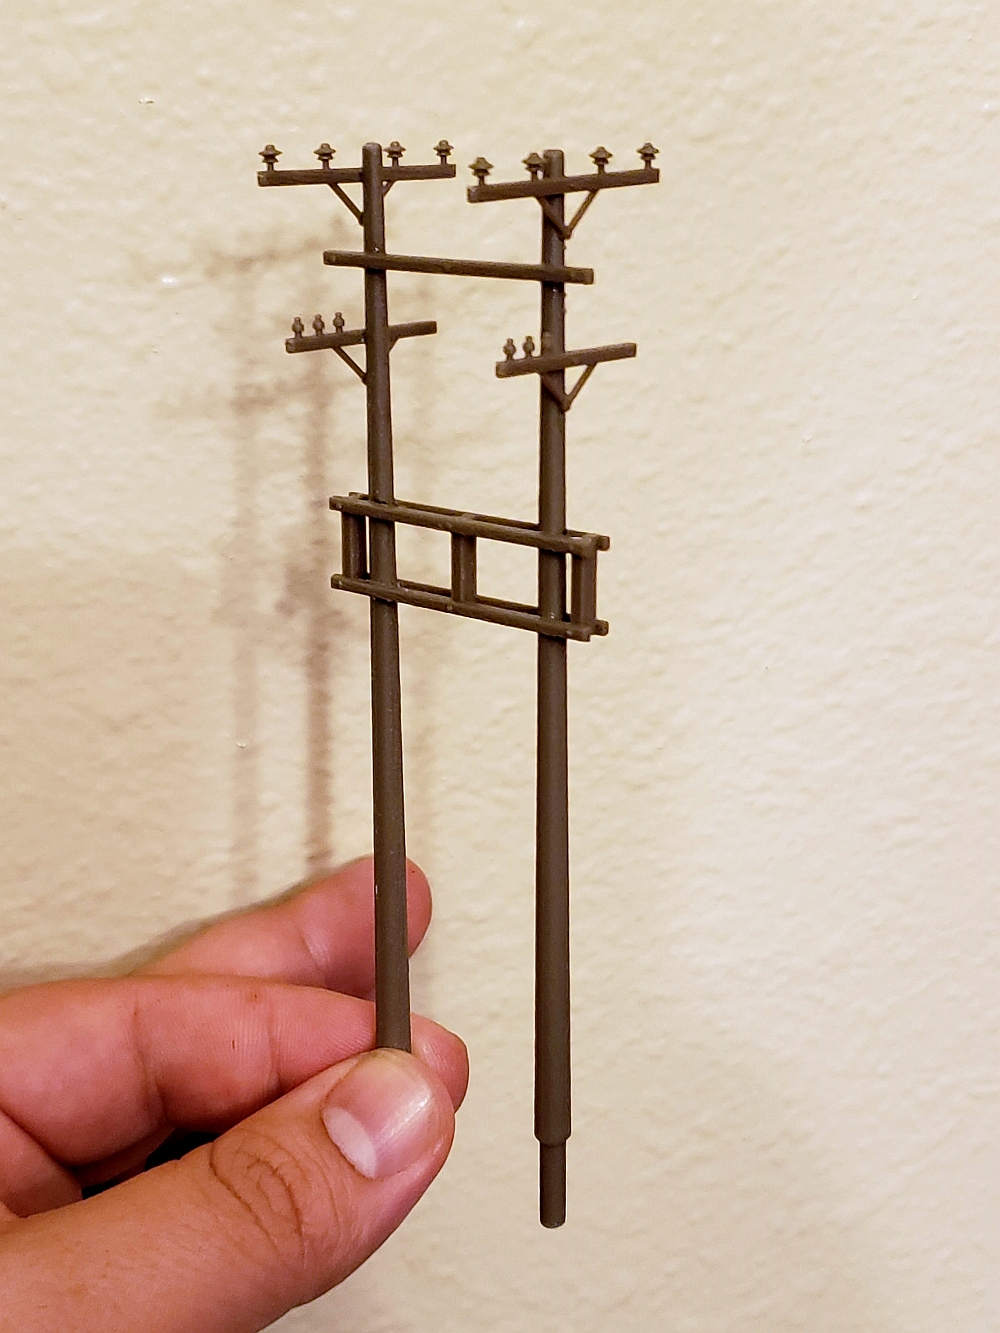
Walthers Power Pole Ideas
Walthers markets a kit specifically for Power Poles, which are much different than telegraph poles. These kits are highly customizable, and here you can see I modeled a two pole mounted transformer system.
Selling for $14.98, these poles are very versatile, molded plastic kits. The can be assembled as a transmission line, single on pole residential transformer, or multi transformer commercial. Completely customizable, and easy to assemble, they should fir most every era. If you cannot find a well stocked hobby shop, they can be ordered here: Walthers SceneMaster Electric Utility Pole Set
- Details
- Written by Stephen McCallum
- Category: Scenery
- Hits: 3694
Scale Newspapers in HO & O
JPEG images that can be printed off for scale newspapers.
This article was originally posted by by Stephen McCallum aka fsm1000. This is an authorized repost of his article, which was originally posted on his website which he is now planning to close.
Here are some "newspapers" Just click the thumbnail and then right click it to down load the picture. Print it out with no scaling or alterations in order to get the proper sizing. Enjoy. :)
The first one is in O scale: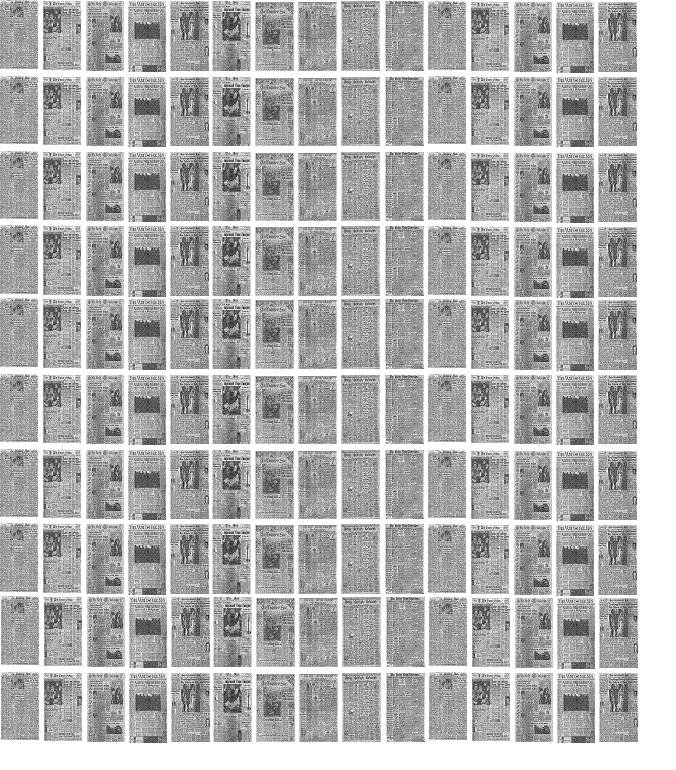
- Details
- Written by Stephen McCallum
- Category: Scenery
- Hits: 3337
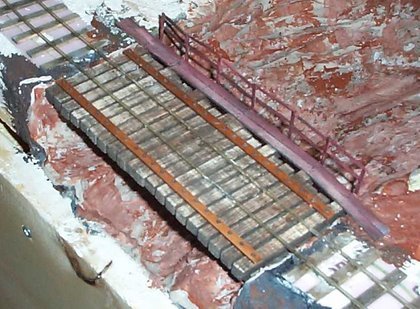
A Small Bridge
An article by Stephen McCallum aka fsm1000. This is an authorized repost of his article, which was
originally posted on his website which he is now planning to close (originally posted in 2009 on Model Railroad Tips).
I have one area where I needed to complete a small bridge before continuing in my track laying. It is a simple
bridge and might be a good starter bridge for those of you who want to make your own bridges. The surrounding
area scenery will be covered in the scenery section I hope to include sometime later. For now I will concentrate
on the bridge itself. Here is a picture of what I made.
Page 1 of 2