Quick one day project: Dirt Crossing
How I made a simple dirt crossing for railroad crews on my layout
Hundreds of unsignaled dirt road crossings dot the North American railroad system. Railroads employ them for numerous reasons, ranging from private owner roads, to railroad access roads. In short, nearly every model railroad should have them in at least one place.
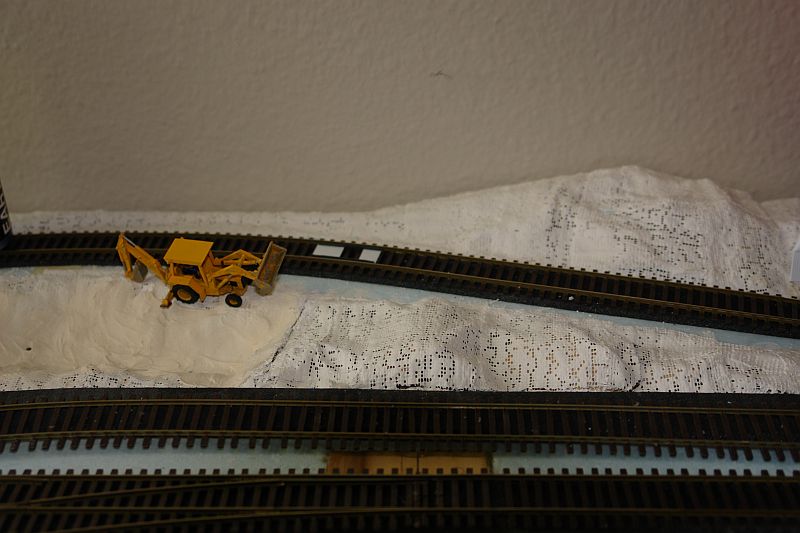
Step 1, Pick a location
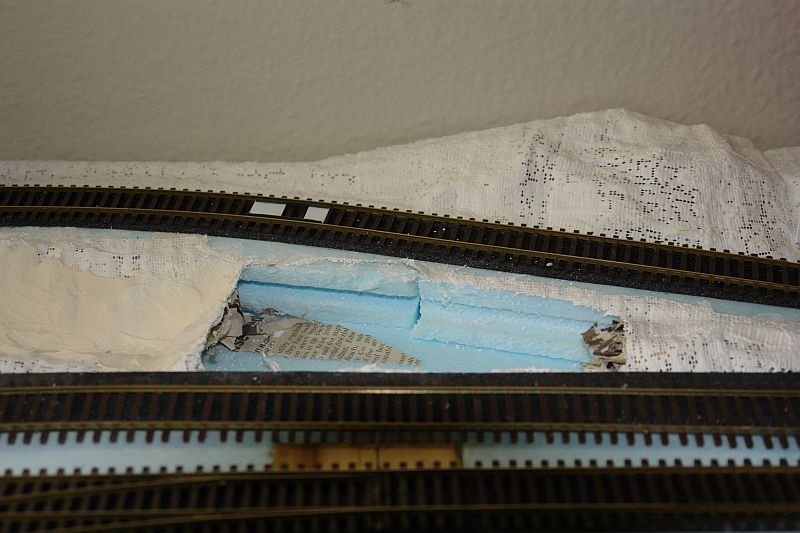
Step 2, cut out existing scenery, or in this case scenery base.
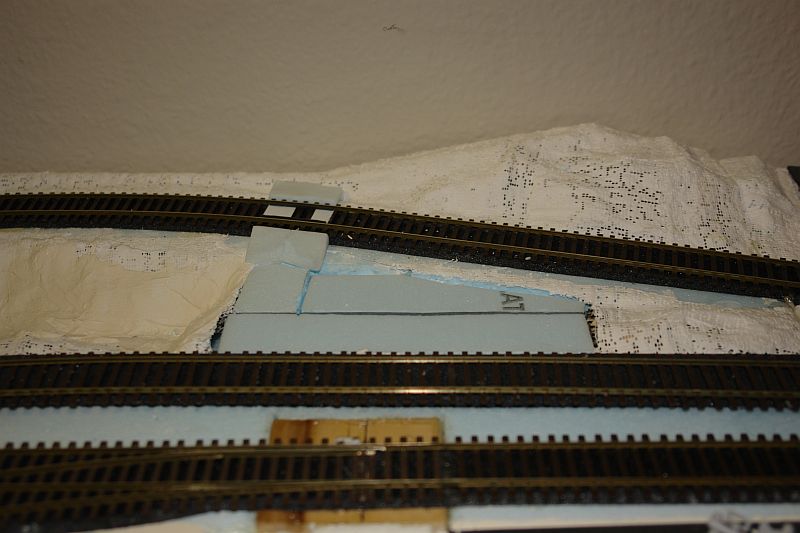
Step 3, add flat surface for road and parking area.
I opted to model a dirt crossing that the railroad has installed metal flange ways on. Higher speed mainlines commonly has these flange ways, to protect against stray dirt & gravel from interfering with the train.
I chose to use Plastruct L angle to replicate the flange. I found that 1/16th inch angle works well for Code 83 & Code 100 in HO scale. I attached mine to a few scraps of .010” thick styrene to clear the spike head detail on Micro Engineering track This caused it to be a tad high, and required some minor filing to lower the height. If I had it to do again, I'd simply remove the spikes from the insides of the rails, and attach the angle directly to the ties.
I attached all parts with gap filling CA, and then added a drop of Accelerator to speed the curing. Using an NMRA gauge, I checked the flange width before attaching the angle to the ties. The angle should be good enough to nearly butt against the rail on the bottom, and still provide proper spacing.
After the CA had cured, I masked the rail (which had already been painted), and then painted the flange way with a Floquil paint marker, in this case rail brown.
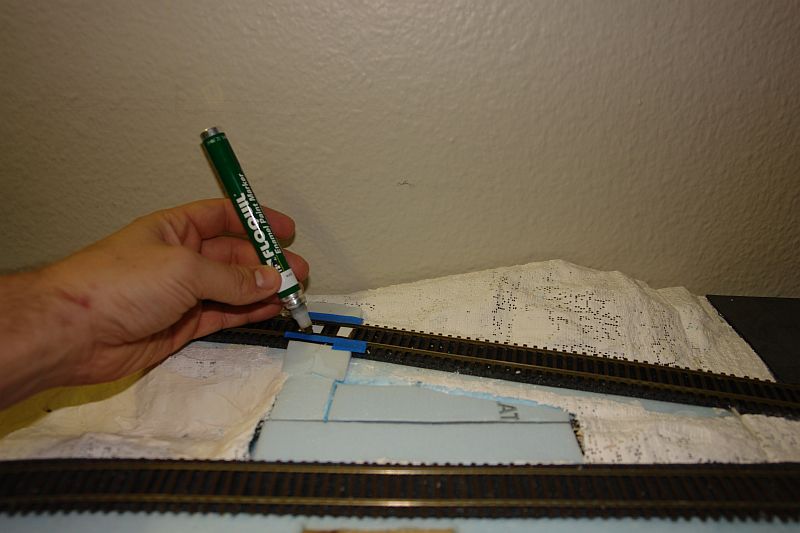
Step 4, painting the new flange.
Once the paint had dried, I installed foam ramps to either side of the rail, making sure they were just below the height of the rail. I then ballasted the track to either side of the crossing. Once the ballast had dried, I used Arizona Rock & Mineral fine “beach sand” to build up the dirt road and crossing. Once I was satisfied, I used 70% Isopropyl Alcohol to wet the dirt, then soaked it with Woodland Scenics Scenic Cement.
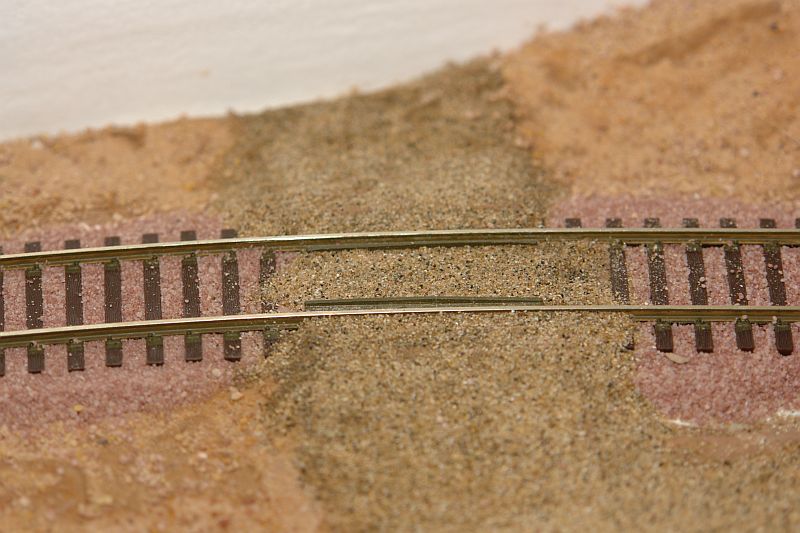
Step 5, finished road.
Surrounding scenery was built up with more Arizona Rock & Mineral products, along with tufts of dry grass from Woodland Scenics, and trees from several manufacturers.
©2011, 2019, Josh Baakko, http://www.modelrailroadtips.com