Don’t Write it Off Just Yet: Salvaging Warped Kits
By Frank Wells

Introduction:
Personally, I enjoy modeling projects that require going the extra mile to create something unique. Whether it be one of a kind locomotive or a freight car not commonly found on the market, I’m all for doing it myself, rather than wait on a major manufacturer to produce it. This is what drove to my create my latest creation, the BNSF Circle Bi-level Autorack. While this particular car has been done by Walthers previously, it was done quite a few years ago and few exist commonly on the market today. Seeing as I was set to create multiples of this autorack, I also saw it as an opportunity to accrue funds for future projects, which quickly progressed the project start. In my case, I ended up using a new-old stock of Walthers Autorack kits as the base, Arrowhead Wheels, Kadee Couplers, and custom decals from Switchline Decals. I chose the Walthers kits because they were readily available from a friend of mine, who had nine he was looking to sell. Eight of those nine would be completely fine, the car bodies free of warp. I did not discover my “problem” car until I was ready to paint the bodies at a friend’s house, finally breaking the sealer wrap to find the side of the autorack not facing outward had severely warped on one end. I worried that the severity of the warp would force me to write it off, but I was hit by an idea. I recalled I had a heat gun at home. So, after deciding to paint it regardless of the warp, I would take it home and give the heat gun a try.
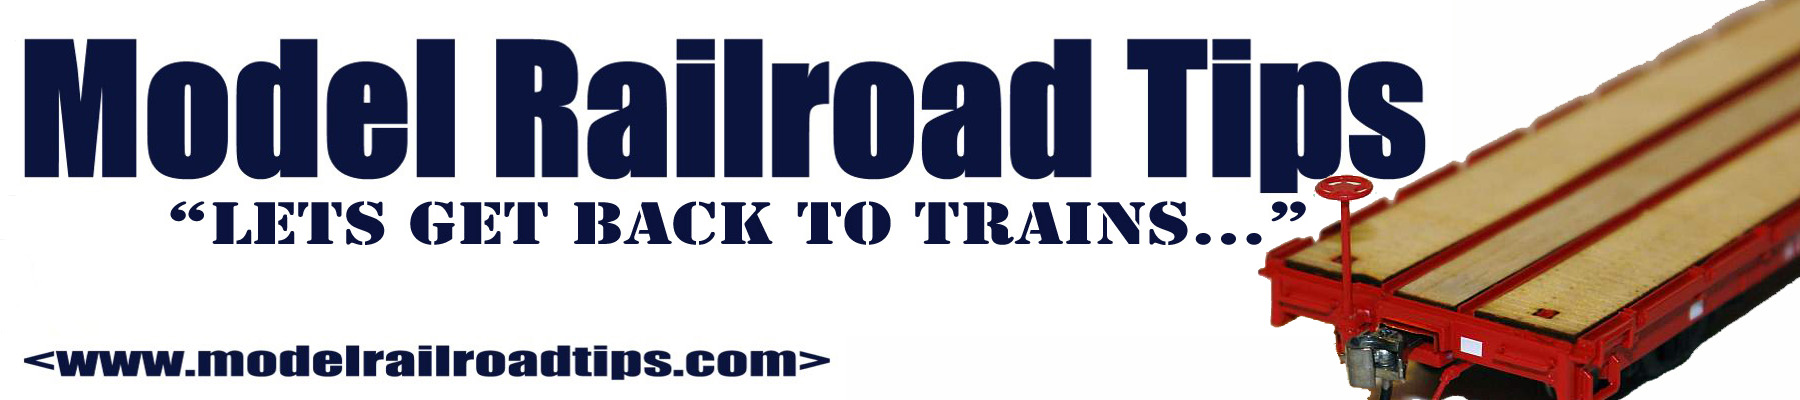
Using heat gun to gently heat up the car for 15-20 seconds. Key here is to warm the plastic up, but not melt it.
Technique:
The idea is relatively straightforward. When plastic heats up, it becomes easy to mold or reshape. Using a heat gun, you will want to apply heat to the affected area for around 15-20 seconds. If your model has a thicker or thinner wall/surface, you may want to apply more or less heat to the area. Then, you will want to take it off the heat, and using a board and a flat surface, sandwich the warped area and apply pressure for at least 30 seconds. Once again, depending on your situation, the timing may be adjusted. An important thing to note is this: Do NOT do this practice more than 3 times on the same model in a short period of time. Any more times, and you put yourself at risk of damaging/warping other parts of the model. In other words, doing more harm than good. However, if the process is done correctly, it is most certainly rewarding.
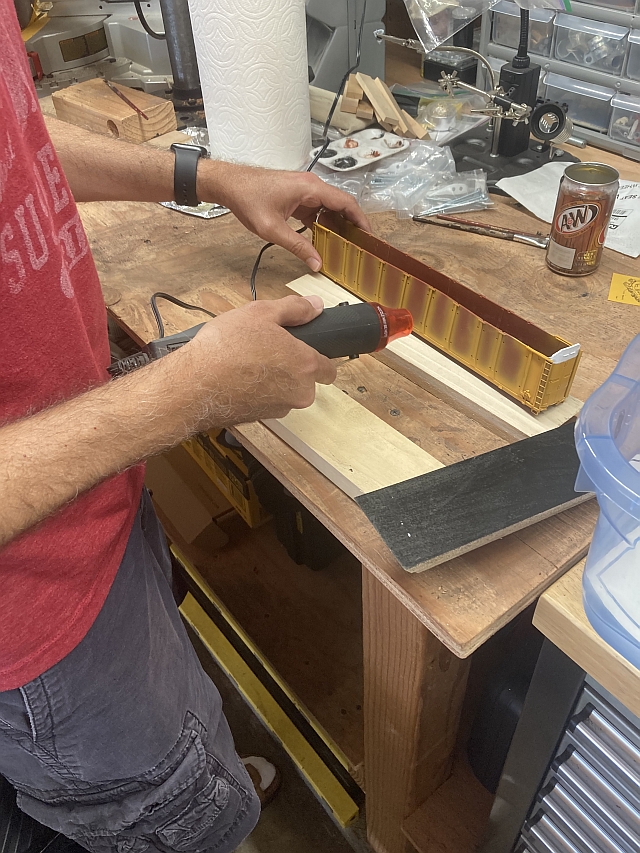
Repaired car, after heating and compressing with wood block.
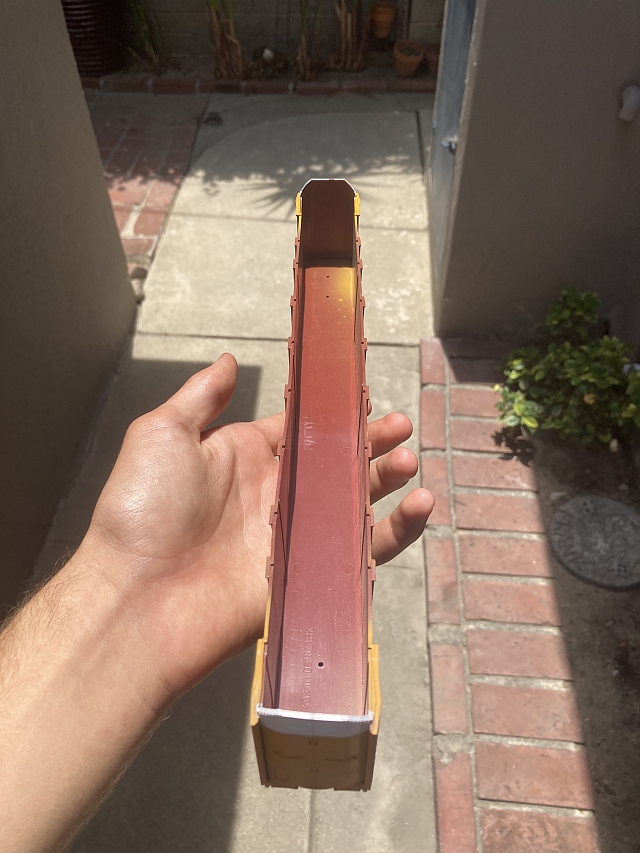
Using plastic compatible cement, and a series of clamps, attach the roof. This will ensure the cement creates a tight bond, ensuring the car will not warp again.
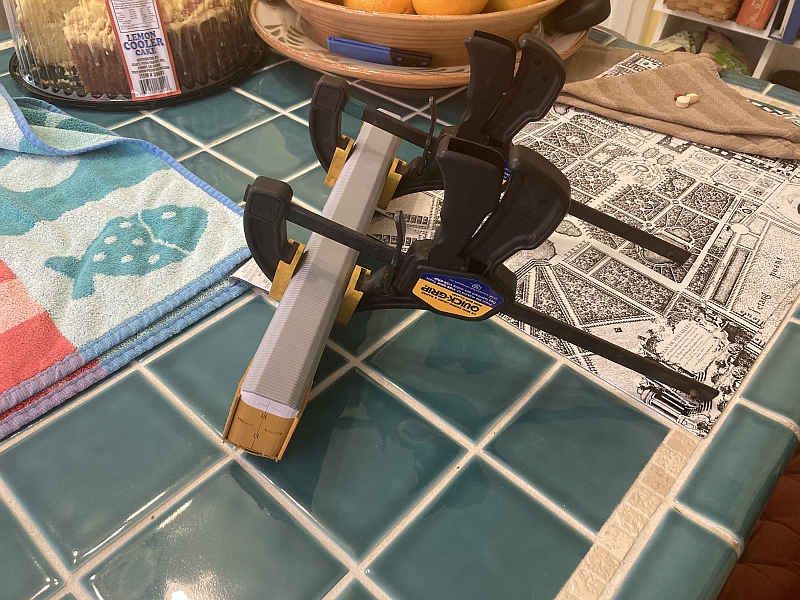
More clamps on the side walls after some dry time clamping the roof on. [Ed. Note: it is recommended to clamp both top-to-bottom and side-to-side at the same time.]
Conclusion:
I personally was surprised at the effectiveness of the heat gun and board press. It saved the carbody and allowed me to complete assembly. In the picture ill show you, I say it was 95 percent successful. To recall on how it was before, to the state it is in now, the heat gun removed the majority of the warp and allowed me to complete the rest with clamps and strong glue. I hope that in your situation, whether it also be an autorack or any other kit, you find the same success as I did.
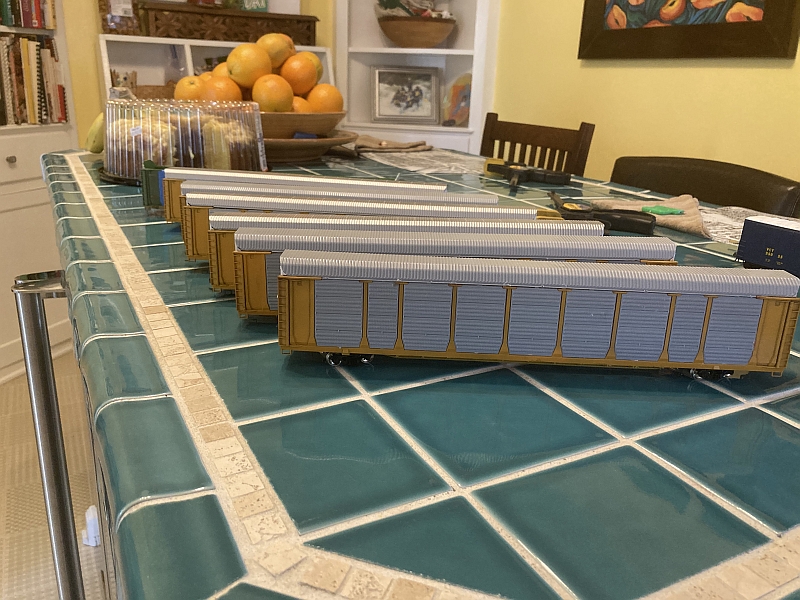
6 Finished racks awaiting decals. Only one car was warped, but you can't tell the difference.
© 2020, Frank Wells, https://www.modelrailroadtips.com