- Details
- Written by Stephen McCallum
- Category: Layout Construction
- Hits: 2304
Laying the track
An article by Stephen McCallum aka fsm1000. This is an authorized repost of his article, which was originally posted on his website which he is now planning to close.
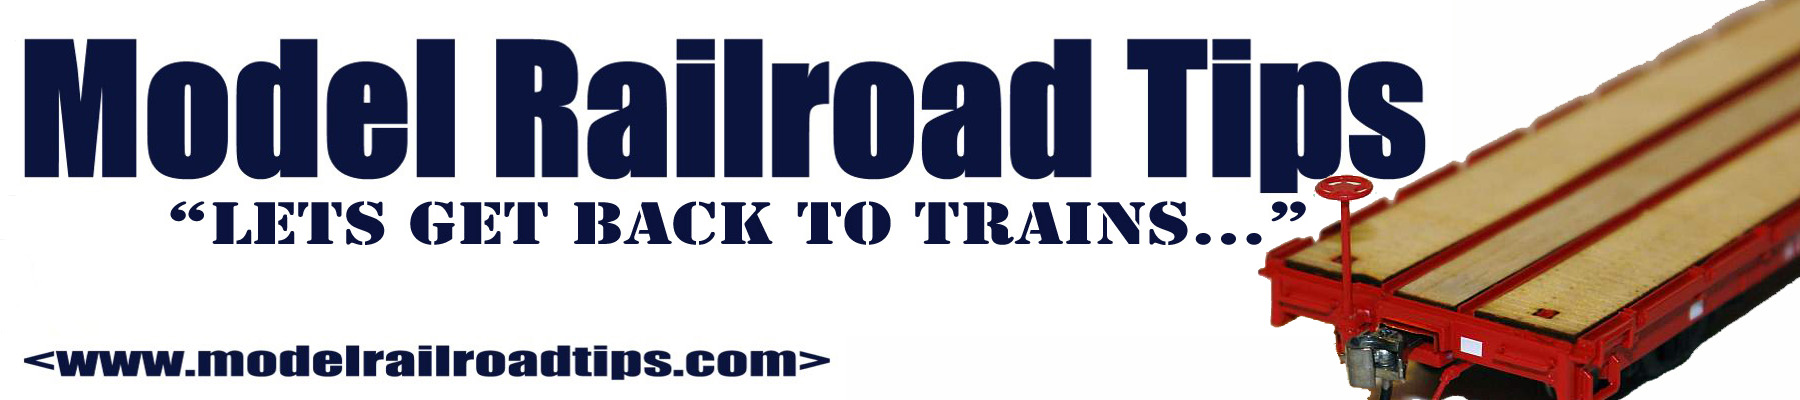
So now we are down to the actual laying of the track. Before we begin I should add that I tested the incline and found it was too steep. So I lowered ALL of the uprights supporting the upper levels by 1 ½ inches. I had raised the upper part as I thought I could get away with it. But after extensive testing I found that the shay could get up but the porter could not. And nothing got up with a load. If (unlike me) you were to stick to the original layout it will work out fine. Live and learn LOL.
This is a picture of how I laid down the test track.
- Details
- Written by Stephen McCallum
- Category: Layout Construction
- Hits: 2313
Building the Benchwork
An article by Stephen McCallum aka fsm1000. This is an authorized repost of his article, which was originally posted on his website which he is now planning to close.
Now we get to the point of actually building the thing. It was at this point I found out how expensive wood has gotten. So for the lower bench part I used 2x4's instead of the original 1x6's. I saved about 50 dollars overall by doing this.
So now you see once more the beauty of making a model of your model before you build. In this way I was able to substitute without major problems. I knew the dimensions and all that, so it was easy.
If you wish to, you can make another model. You waste nothing because the time invested will only sharpen your skills further.
As you can see in the first and second photo,

- Details
- Written by Josh Baakko
- Category: Layout Construction
- Hits: 2526
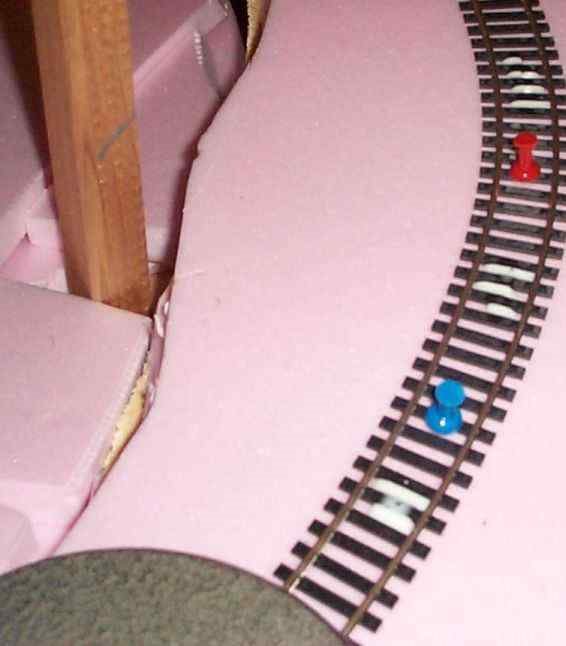
Building a Switching layout, Part I
A foam project layout.
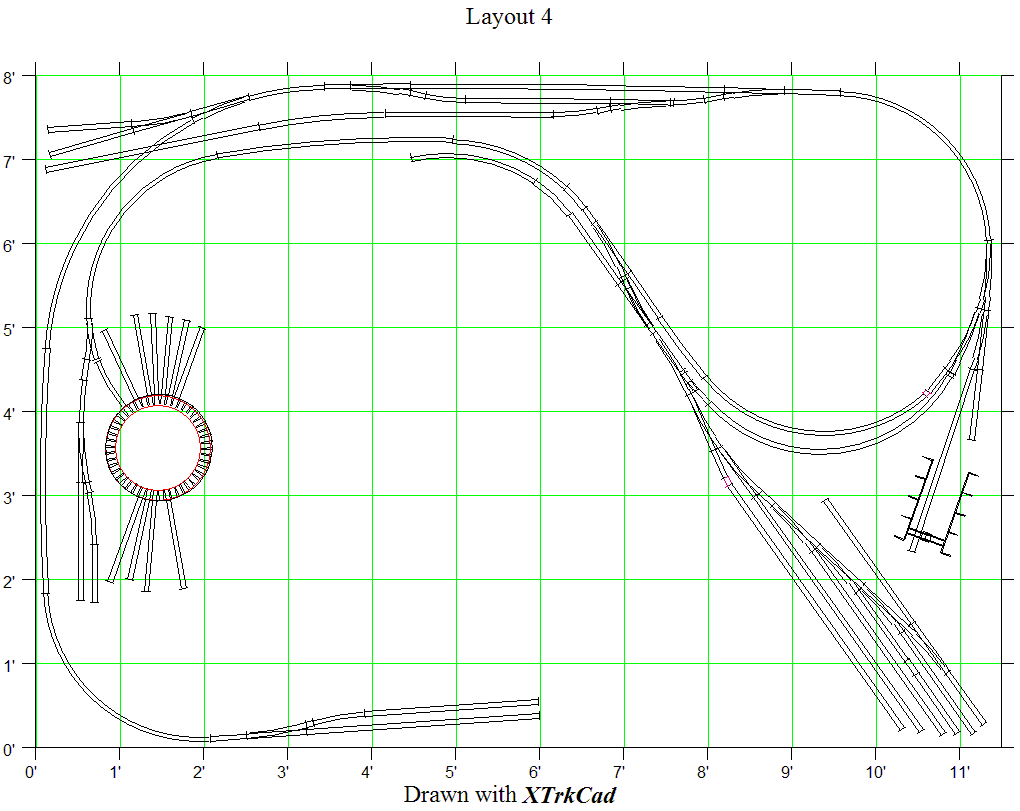
I've started buying track for the Christmas layout, and at the same time I'm going to build myself a much larger switching layout here in my computer room. So far I've developed a track plan, which is on V1.6 now.
- Details
- Written by Josh Baakko
- Category: Layout Construction
- Hits: 2846
Using Risers on Your Layout
You can follow these directions when using foam, or opt for the Woodland Scenics pre-cut risers.
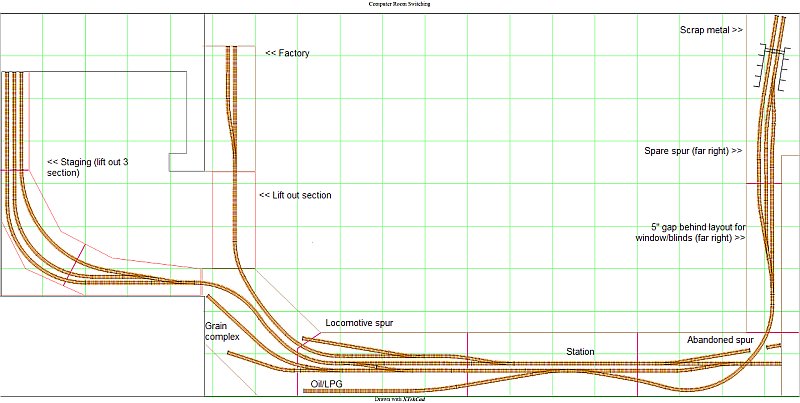
After the framing is complete, we can add risers. To make sure I positioned the risers correctly, I needed to trace the track plan from the 1:1 print out, onto the foam boards. I found that using carbon paper does not work well at all, and you'll end up going back over it with a sharpie, or a pen. You can use a pin wheel, which should work much better then trace the holes the pinwheel made in the surface of the foam. This step is very rough, but recommended if you're using a 1:1 track plan, because it'll allow you to get the risers were they need to be.
Why risers?
I use a riser for one big reason, it allows dug in scenery to be built easier. Rivers, culverts, etc are easier to add.
When using the track plan, I suggest taping sheets together, in module sizes (I.E. each module's plan taped together into one large sheet), so what when you go back later to use the plan again when adding the roadbed & track, it stays the same.
- Details
- Written by Stephen McCallum
- Category: Layout Construction
- Hits: 2312
Starting A Layout Part 2
An article by Stephen McCallum aka fsm1000. This is an authorized repost of his article, which was originally posted on his website which he is now planning to close
Ok now comes the fun part. Don't worry, we will be making the real thing VERY soon.
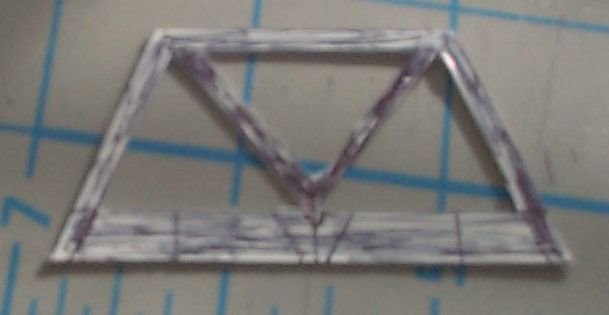
First off we make a bridge.
- Details
- Written by Josh Baakko
- Category: Layout Construction
- Hits: 2583
Basic Operation Set-up Styles
Point to point, loop, ect.
There's a few layout set-up's that relate to how you operate it. Here are the basics:
Point to Point
Point to point layouts are usually set up to model a section, or division of a prototype. They are sometimes referred to as staging to staging layouts, though not always will they have staging. Point to point operations usually concern running one train from one end to the opposite.
- Details
- Written by ErniePRR
- Category: Layout Construction
- Hits: 2416
Starting New
Lessons learned from dismantling an old layout.
Hi gang,
Just a couple of lessons learned when dismantling my old layout that was on a Plywood base. Don't use airplane glue to secure the cork roadbed to the Plywood, it's a big time job to remove. Next Don't over spike [Ed: use to many] the rails. I'm in the process now and it's time consuming. Once all cleaned up, I'll start the new layout that I designed using AutoCad, (computer aided drafting) which included the layout, schematics, wiring diagrams, control panel details, ect.
Hope this helps someone out there.
Have a good one,
ERNIE
©2008/2020, "Ernie PRR", https://www.modelrailroadtips.com
- Details
- Written by Stephen McCallum
- Category: Layout Construction
- Hits: 2201
Starting A Layout Part 1
An article by Stephen McCallum aka fsm1000. This is an authorized repost of his article, which was originally posted on his website which he is now planning to close.
I am going to attempt to teach through example here so bear with me. This May take some time as I am not exactly rich and it takes time to buy all of this stuff.
Lets start at the beginning. Planning the layout itself.
First off if you have an idea of what you want to model you are one step ahead of many. If you haven't got a clue then go to the library, read a ton of books. Go to hobby shops (not just one) and ask a lot of questions. Sooner or later something will catch your eye and off we go.
Start by making a list of things you want on your layout. Put them into categories of 'must have', 'could have' and 'could live without'. This is also known as "given and druthers".
Next try to fit ALL of it in and then pare it down from there. Most of us would like a thousand square feet to put all that we want into a layout. But the truth of the matter is most of us only have a sheet or two of plywood to work with. So start at the top and work down. If your needs are small then your layout will not look too ungainly. However, if your needs are huge then win the lottery or cry a lot or redo your lists.
So remove the things you can live without for now. If the layout is now the right size for the place you are going to put it then add somethings from the list if you can. If it is still too big then remove stuff from the other list of 'could have'. You will now be down to the must haves. Most of us end up here.
- Details
- Written by Josh Baakko
- Category: Layout Construction
- Hits: 4488
Basic Construction of an All Foam Module
Describing how I assembled my all foam modules. Since I opted to make these modules at light as possible, I've eliminated wood from the framing of the modules, and opted for 100% foam.
To begin building a foam module, I first measured out the size of the module. Most of the modules range from 1' x 3.5' to 18" x 4', with a few oddball modules that are not square.
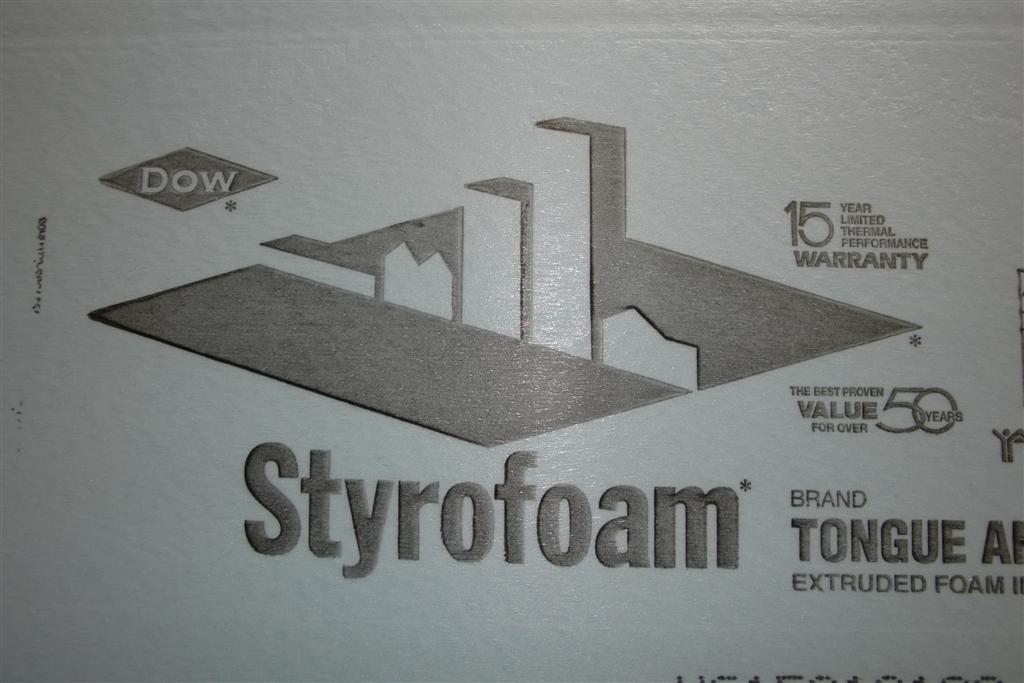
The "base" is made up of 1" thick extruded foam. This is the foam, most model railroaders will refer to as "blue board" or "pink board" depending on the brand (Dow & Owens Corning, respectively), or in some cases the Dow product will be referred to as "Dow board". This foam is the chosen material because it cuts much easier, and if you were to use it for scenery (as I will later), it can be carved much easier.
It's important to note, that depending on which area you live in, acquiring this foam may be tough. I live in San Diego, and I can only find it in one Lowe's, in 1" x 2' x 8' sheets. Expanded foam is more readily available, and will work just fine however is tougher to cut, messier, and does not work well for carving smooth rolling scenery. That same Lowe's carried 1/4" up to 2" thick, by 4' x 8' sheets of expanded foam, under the brand "Insulfoam". Home Depot carries the same brands, and also had a 1 1/2" x 2' x 4' sheet of the Insulfoam expanded foam. Insulfoam comes with a plastic protective layer, it is recommended that you remove this layer, AFTER cutting. Removing the plastic allows foam on foam gluing.
- Details
- Written by Josh Baakko
- Category: Layout Construction
- Hits: 2820
Track Joining and Placement
Basics of joining sections of track, and placing them, roadbed.
Rail Joiners, Soldering; nailing, gluing; plastic, wood, cork & foam. Whats the point of each.
When placing your track, you've got TONS of options. From ways to connect sections of track, to ways to secure them, to the roadbed.
- Rail joiners & soldering each serve the same purpose. Rail joiners are the easiest way to accomplish connecting track sections. However, there's a minor downside, contact is not always perfect. If the joiners are loose, they can loose contact, thus creating a dead spot in your track. Also, when gluing ballast down, if glue enters the joiner, it'll do the same.
- Soldering can keep this from happening. Soldering takes a bit of learning, I'd suggest practicing on some scrap track sections first. The major problems her are the hot soldering iron, and the possibility to melt the plastic ties. Heat sinks and help this.
Often, I'll combine both. Using Micro Engineering rail joiners on Micro Engineering rail is suitable, but I'll solder most joints after to decrease movement, and increase electrical conductivity.
Page 1 of 2